
Originally, I wanted to get the Flutter CI/CD pipeline implemented in a Docker container, as those are the easiest way to create a highly customized virtual server, and thus gave me the best chance of quickly creating a virtual server with the components I needed. However, once I successfully implemented a Jenkins environment that build a Flutter project into a release Android APK and moved on to iOS, I hit a roadblock. It is only possible to build iOS projects on MacOS. Thus, I needed to move to a solution built on a MacOS machine. This necessitated running a Jenkins instance directly on my Macbook without using a Docker container at all. Luckily, this is very simple using homebrew, and the process is outlined here. This process is also the process you’ll need to follow if you’re wanting to set up a remote Jenkins instance!
One of the first things I learned in my Jenkins education is that the easiest way to set up a Jenkins pipeline, is to use a Jenkinsfile. This Jenkinsfile defines each stage and step in the process, from Flutter commands to sh or bash commands. Jenkins automatically detects Jenkinsfiles in the base directory of projects brought in from whatever source you choose. For the purposes of this article, I will be showing how to integrate bitbucket projects into Jenkins. To do this, you must add two plugins. These two plugins together, ‘Bitbucket’, and ‘Bitbucket Branch Source’, will allow you to use a Bitbucket as a source in Jenkins. A ‘source’ in Jenkins is where Jenkins looks to execute commands against. In addition to these two plugins, this pipeline also needs the AppCenter plugin to distribute to AppCenter. If you plan to distribute somewhere else, that plugin isn’t necessary.

To add plugins in Jenkins, navigate to ‘Manage Jenkins -> Manage Plugins -> Available’. After you install the plugins, you’ll have to restart your Jenkins server for those plugins to be running. Luckily, Jenkins has a quick option once they’re installed to reboot.

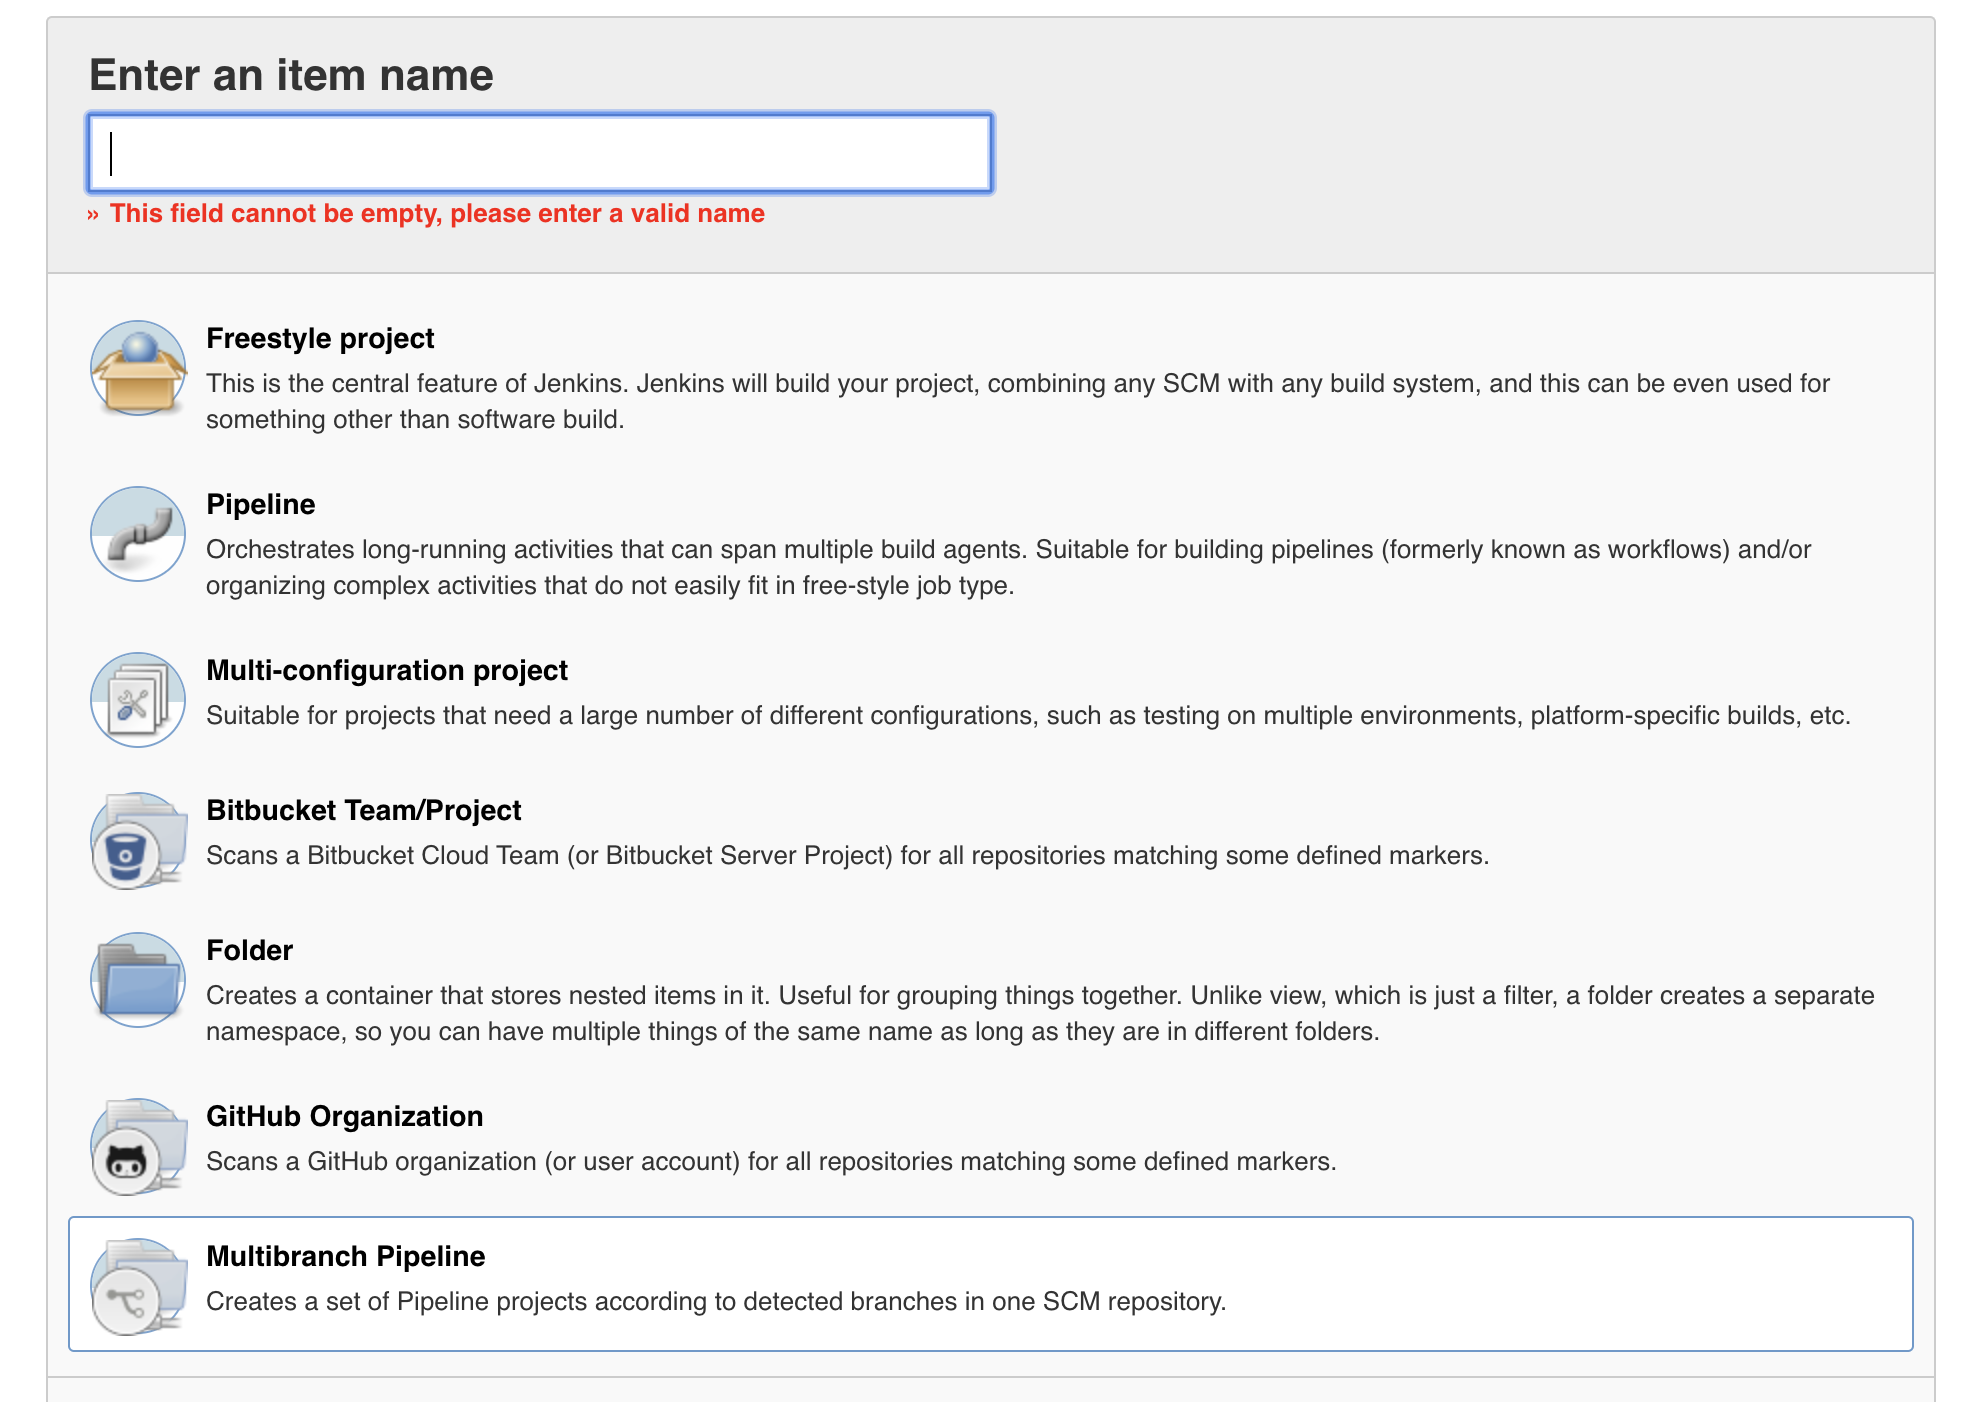
Once those are installed, you can create your Jenkins Pipeline. On the Jenkins server, select ‘New Item -> Multibranch Pipeline’ and save.
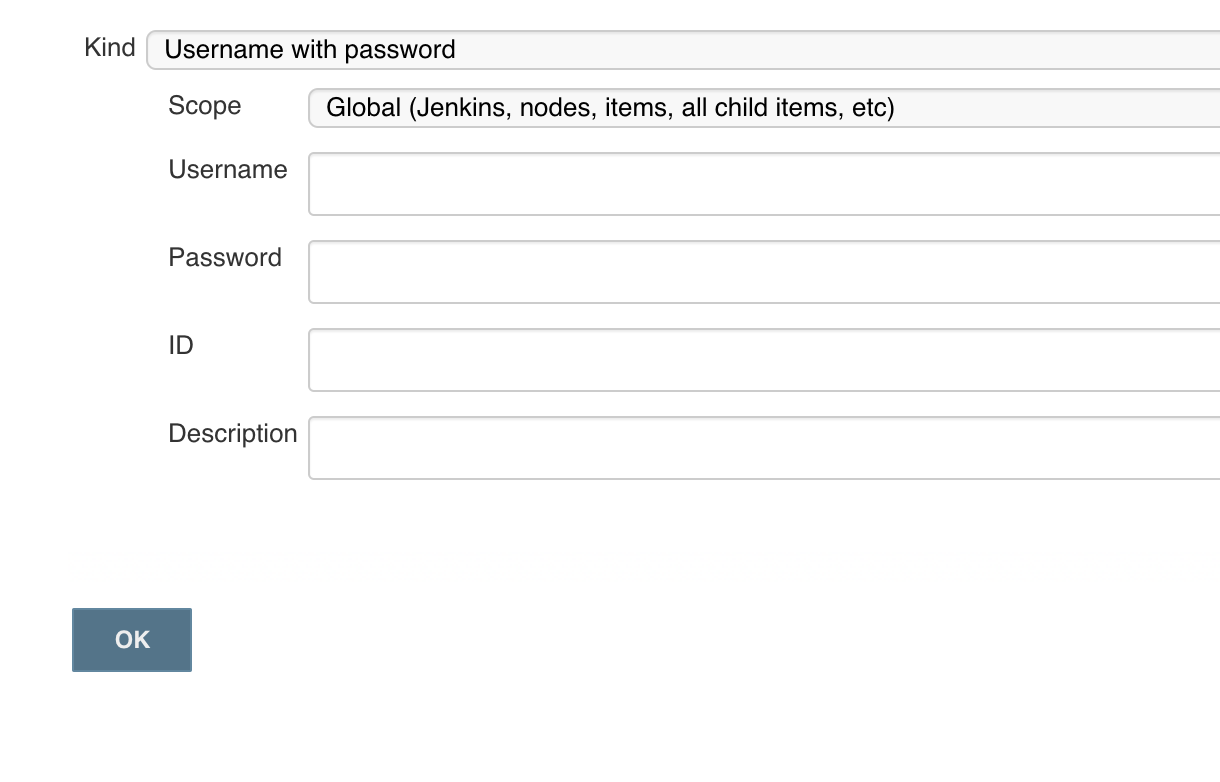
In order to access Bitbucket sources, you’ll have to add your credentials to Jenkins. ‘Credentials -> Jenkins -> Global credentials -> Add Credentials’.
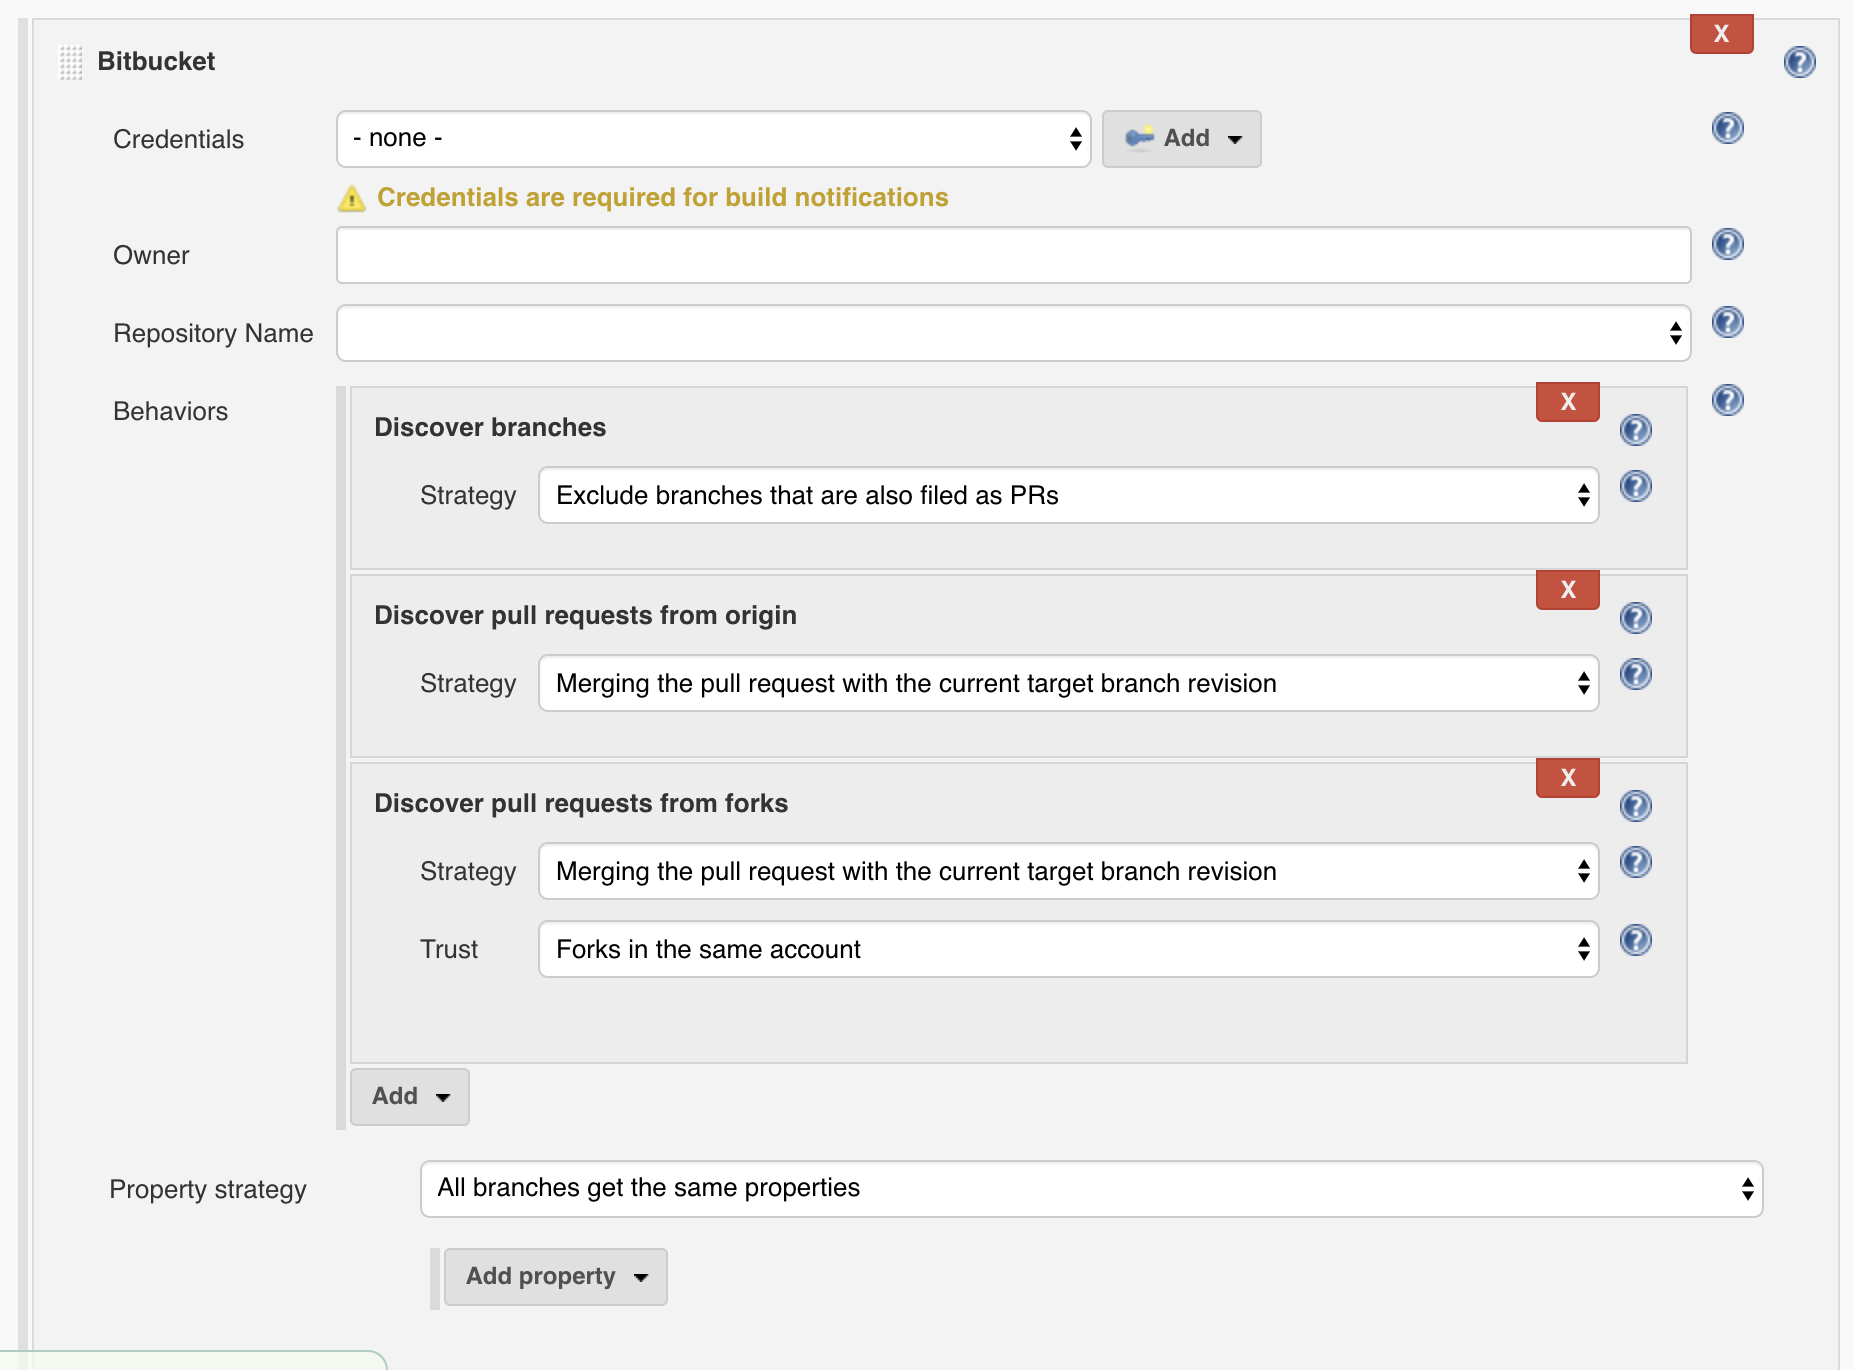
Then, fill in a display name and description. Under ‘Branch Sources’ click ‘Add source’ and select ’Bitbucket’. Next you’ll need to select the credentials you just added and enter in the name of the owner of the repo. Once you do that, a dropdown with all of that owner’s repos will populate(assuming you have access to any). Select the one you want from that dropdown.
Assuming everything is set up correctly, Jenkins should automatically scan the source and run whatever Jenkinsfile it finds. This concludes Part 2 of this 4 part series! Next up is Part 3 where I’ll go over the Jenkinsfile and what each part of it does.